Thanksgiving centerpiece
Deck you Thanksgiving table this year with a fun and interactive centerpiece! This thanksgiving craft will compliment your house, making it look festive, all while helping family and friends practice the true meaning of the holiday – giving thanks!
You will need:
– branches from a craft store or your yard
– this template
– a vase
– floral foam or styrofoam
– fabric of your choice
– rafia
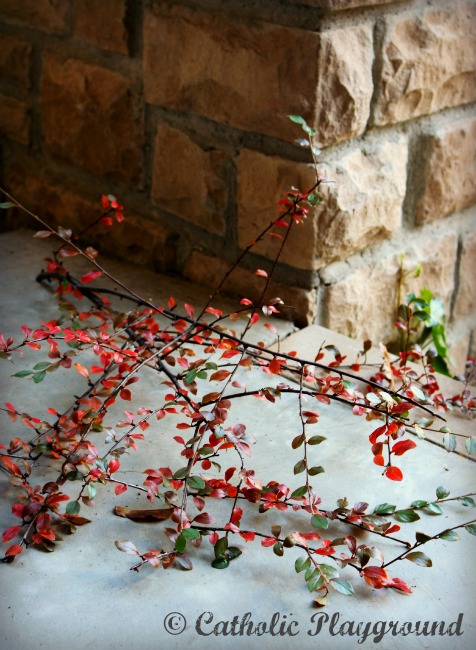
Start with the branches. We found ours in our own backyard but many craft stores sell similar artificial greenery.
 Insert the branches upright into the floral foam.
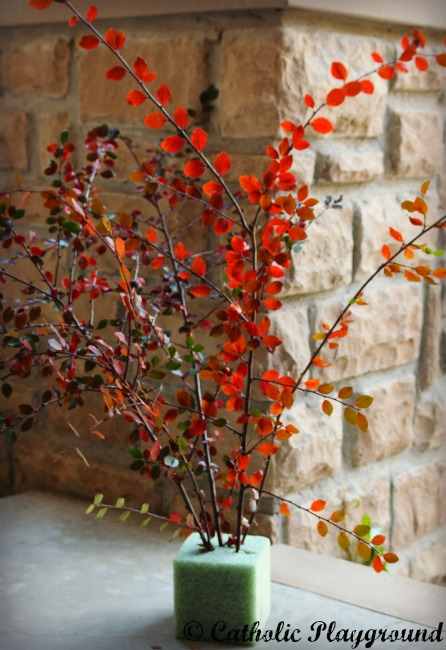
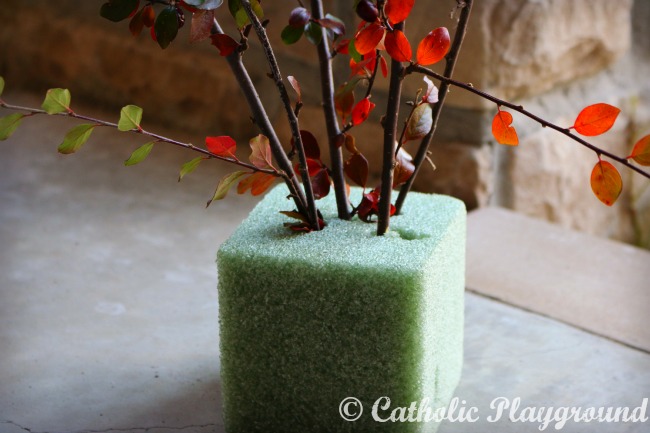 Since the branches made the centerpiece top heavy, we used a knife to round the corners of the foam. This way it fit into a glass jar which stabilized the centerpiece.
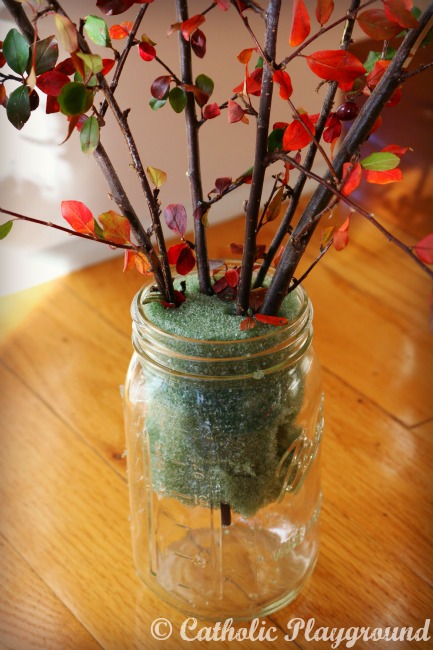 Weave a piece of fabric through the base of the branches to give it a clean look. Tulle is a great choice as it’s very easy to work with and looks very professional!
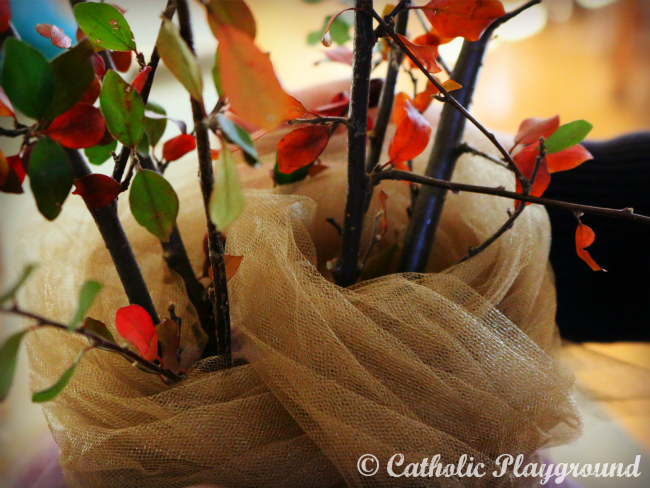 Wrap the base of the centerpiece is a larger piece of material.
For this step, we actually used recycled brown paper that was lying around the house. It looks a lot like burlap and was very easy to work with. With this project you can be as creative as you’d like!
Secure the materials with a rubberband.
With a complimenting ribbon, cover the rubberband.
Now that the centerpiece itself is complete, print the template below on cardstock. ( Each page has 24 tags so you may want to print several copies. )
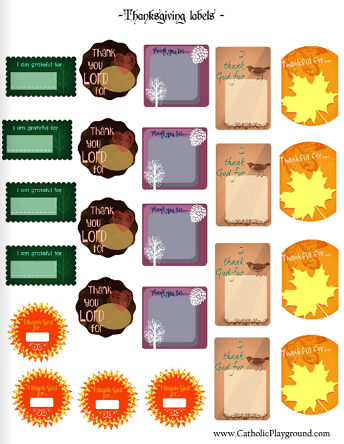
Carefully poke a small hole in the top of each tag and insert a piece of rafia (roughly 3-4″ in length).
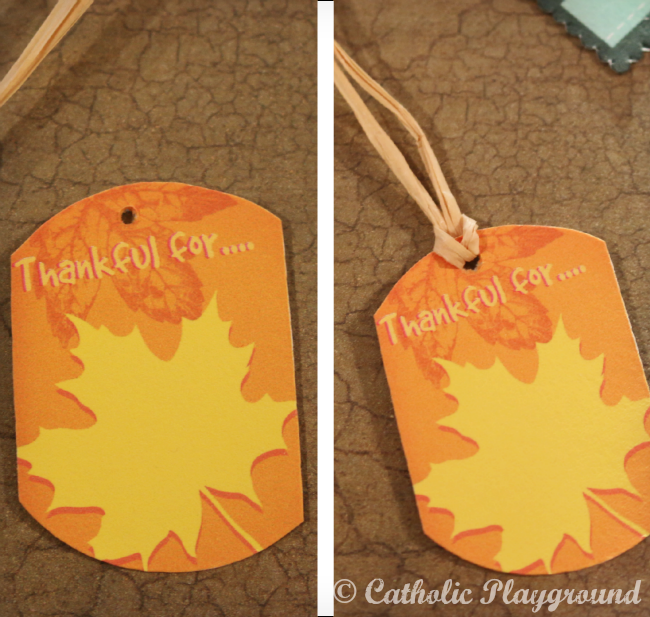 Enjoy filling out the tags and hanging them on the tree!
Leave out blank tags and pens so that your family and guests can enjoy the activity as well!
