Marian apparitions: create a mini grotto!
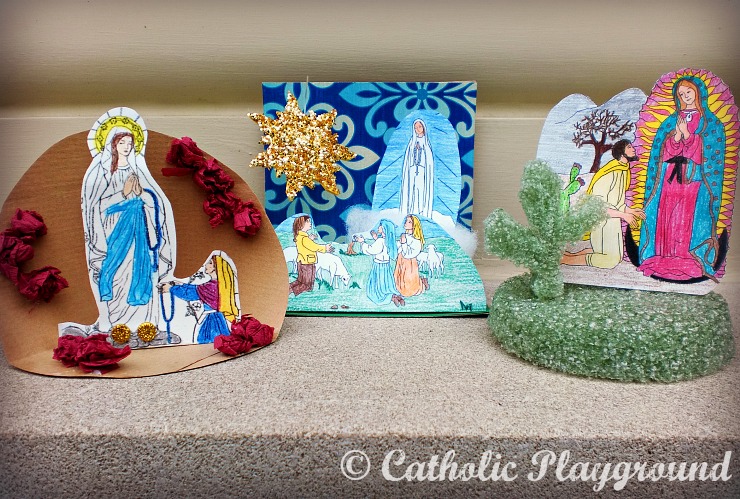
Create three scenes from Marian apparitions using our free template and items from around the house!

Begin by coloring the images on the template , which are resized pictures of coloring pages here on the Catholic Playground. Though they are very easy to create, below are steps and suggestions for assembling each grotto:
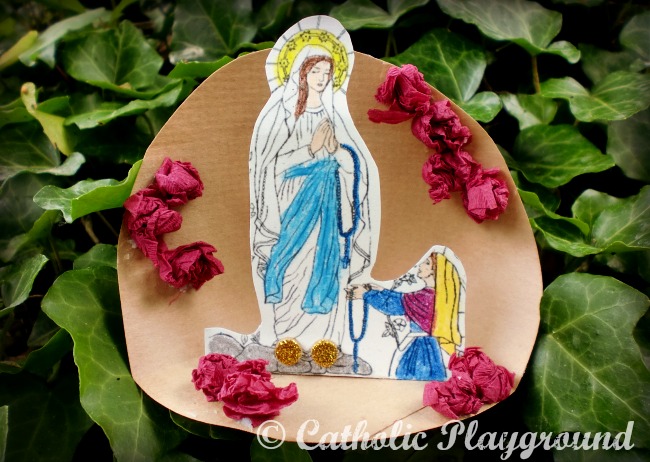
Our Lady of Lourdes
On the template , you will find an outline for the grotto (cut on the solid line, fold on the dotted line). We traced this onto stiff brown paper, cut it out, and glued it together at the bottom. It should curve a little to give it a “grotto” or “cave” look. We used crepe paper, cut into strips and rolled into little balls, as roses to decorate the grotto. For the gold roses that were on Mary’s feet when she appeared, we hole-punched gold, glittery foam previously purchased from the craft store.

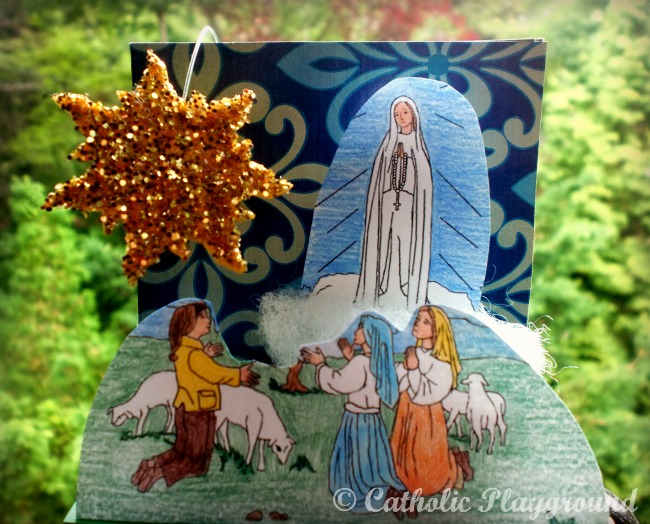
Our Lady of Fatima
This scene was a lot of fun to put together. We ended up using a blue Kleenex box to form the “grotto.” What you see is the bottom and side of the inside of the box. We liked the blue pattern of the Kleenex box and glued that to the inside as the sky. By including the sky and the sun, we tried to incorporate the miracle of the sun dancing at Fatima 🙂 The sun was traced from the template onto gold foam. We used fishing line to hang the sun, so that it would move. The bottom of the scene is covered in green paper for grass and the image of Mary we attached to cotton, for a cloud. 
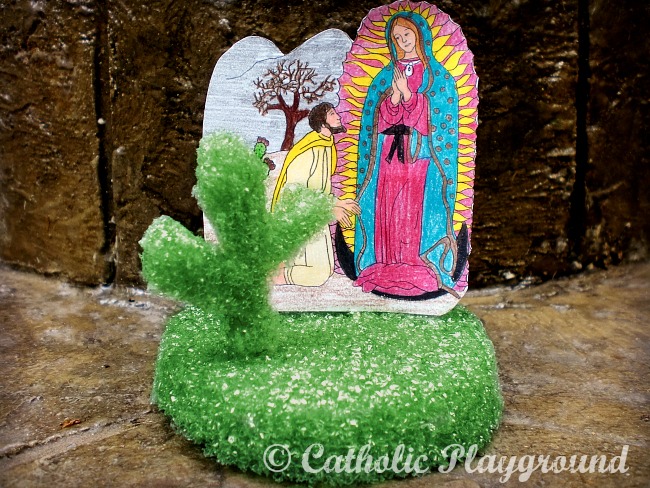
Our Lady of Guadalupe
The most important item in this scene is the green floral foam (craft foam) found in most craft stores. We originally purchased ours from the dollar store. A half ball or disc shape will work best. We used a flat-topped dome, cut it in half, and used the top half as the base of the scene. From the bottom half of the foam, we cut out a cactus shape. Our cactus is in one piece, but you could also cut little pieces and let children build their own cacti with glue or pieces of toothpicks. We attached both the image and the cactus with toothpicks in this scene.
 A few notes on creating the grottos:
- When cutting out your pictures, you can cut as close to the image as you’d like. However, we recommend leaving more room at the bottom of the image. This will allow you to fold part of the image under and glue it to your grotto.
- We were able to use materials already on hand at home. Feel free to add or substitute based on what is available to you.
Have fun and be creative! We’d love to hear how you made your grottos! Let us know in a comment below.
