Shell Grotto Craft
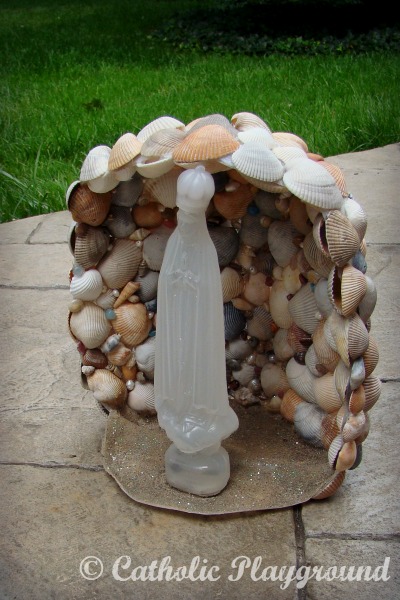
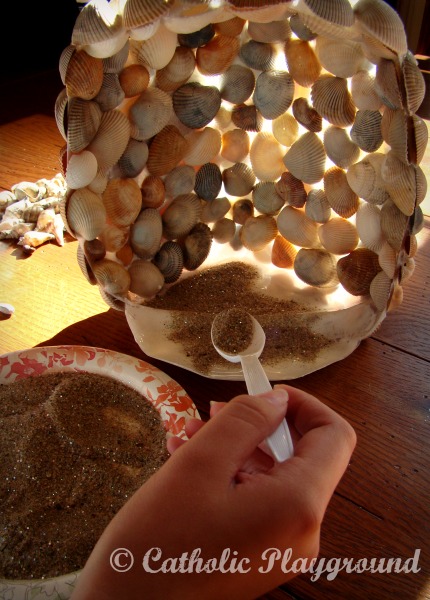
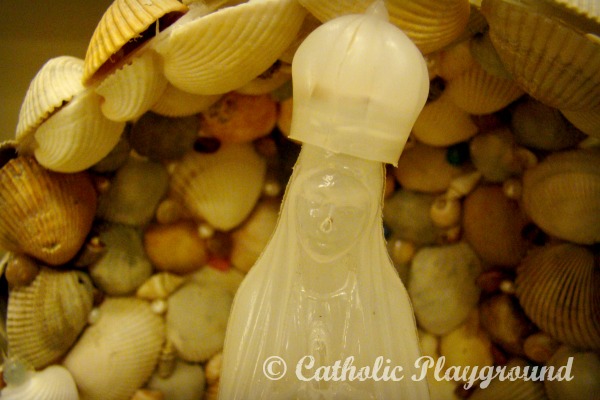
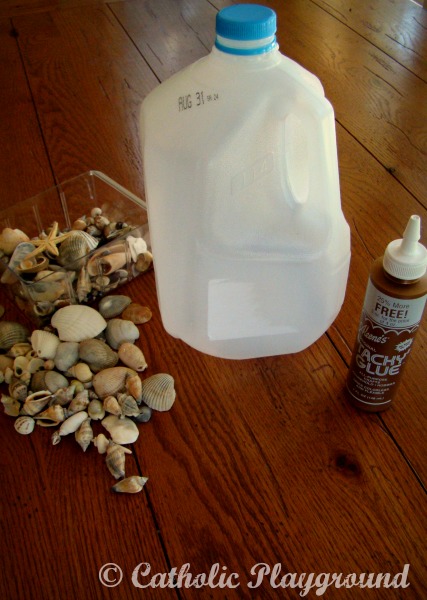
This grotto is the brainchild of our little sister, who thought it would be fun to create a grotto out of a milk carton, glue, and some rocks. We had originally intended to use rocks, but since we had done some beachcombing recently, we substituted shells.
First, we cut off the front of the milk carton to give it a grotto shape. Then, since we wanted to start with a generally smooth surface, we cut the top off and cut two holes in the sides where there were indentations in the plastic. 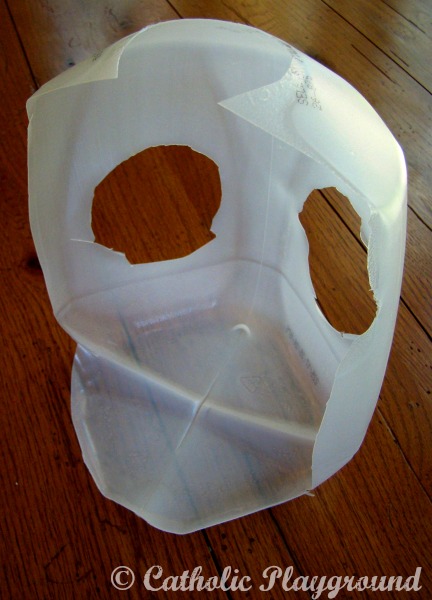
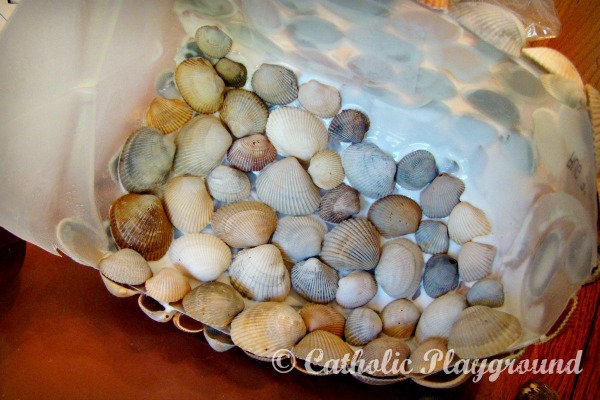
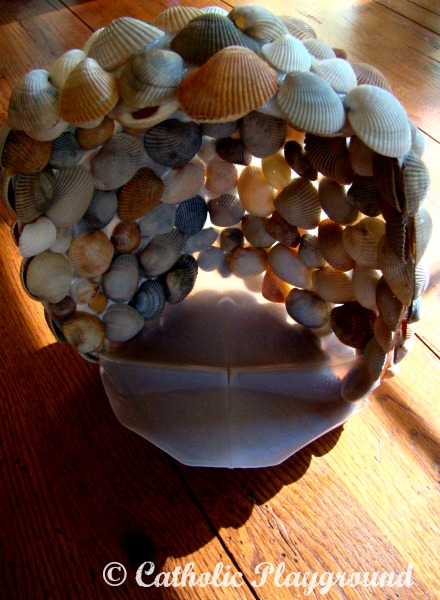
To start, it works best to glue a row of shells (or rocks) along one edge of the milk carton and let this row dry completely. (We used a hair dryer to speed up the drying process). This row, once dry, will work to keep the rest of the shells in place as you continue to glue.


Comments